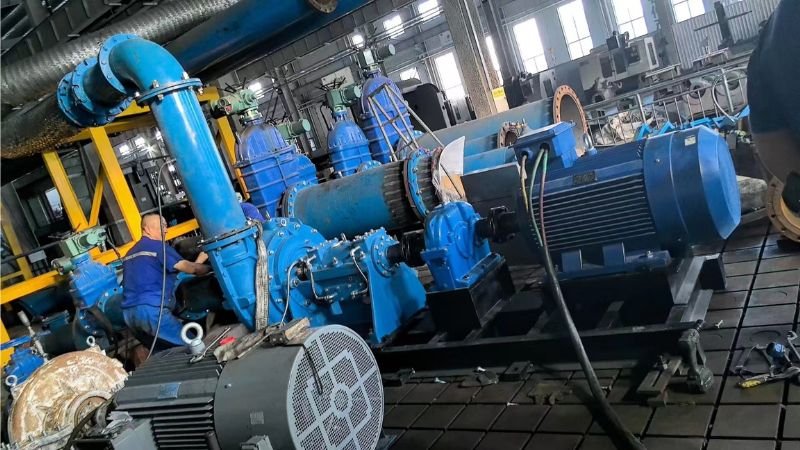
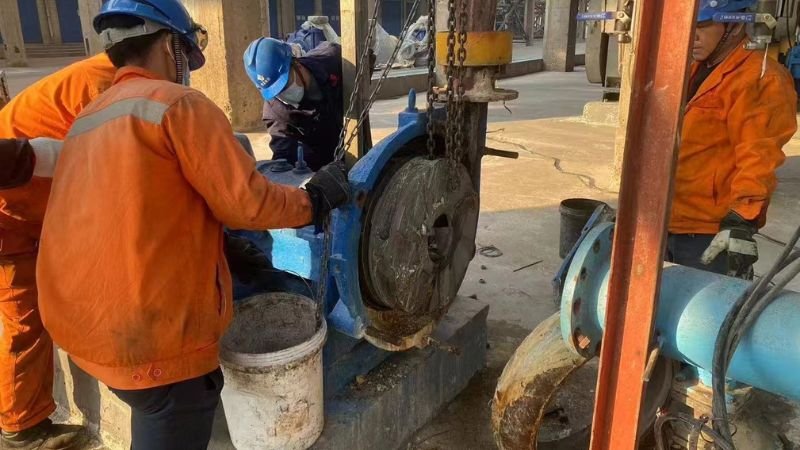
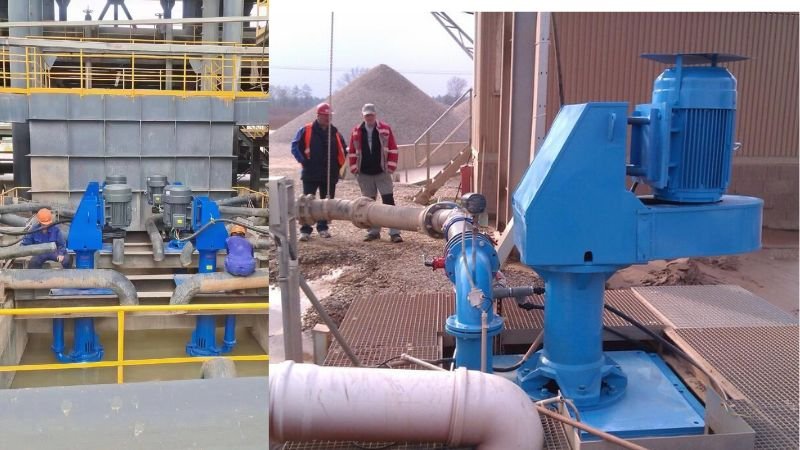
To install a slurry pump, make sure the foundation is the right size and level, and secure the pump with anchor bolts that are properly fixed. Check all the connections thoroughly and use pipeline diameters that are suitable, supporting inlet and outlet pipes to prevent stress on the pump. Finally, install a gate valve on the outlet pipeline to adjust the pump’s operating conditions.

Steps 1: Get the Foundation Ready
Make sure the size, location, and elevation of the foundation are right for the design. It’s important to make sure the foundation is solid and level so it can support the weight and operational stresses of the pump. Make sure the foundation is made of strong, long-lasting materials and has had enough time to set before you start installing the pump.
Steps 2:Check all The Connections Are Ok
Before you start the pump, it’s a good idea to do a quick check of all the connections, fastenings, pipes, and fittings to make sure everything’s in good shape. This is a key step in spotting any potential issues that could affect the pump’s performance. Make sure you check for any signs of wear, damage, or loose connections, and fix them before you go any further.
Steps 3:Make Sure the Pipeline Is the Right Size

The pipeline should be the right size for the slurry pump and how it’ll be used long-term. It’s important to use the right diameter to keep the pump working well. If the diameter is too small, there’ll be too much friction, which is bad for the pump. If it’s too large, the flow velocity will be reduced, and solids might settle.
Steps 4:Get Those Anchor Bolts Fixed Right
Make sure you get those anchor bolts fixed properly and correctly in the concrete foundation. This step makes sure the pump is properly attached to the foundation, so it doesn’t move or vibrate during operation. Use the right bolt size and follow the manufacturer’s instructions for torque settings to secure the bolts correctly.
Steps 5:Connect Pipelines to the Pump Body
Make sure you install all the pipelines connected to the slurry pump body carefully to avoid any stress or misalignment. If you line up the pipelines correctly, you’ll reduce the risk of leaks and make sure the pump works smoothly. Use the right gaskets and sealants to make sure the connections are leak-proof.
Steps 6:Support Inlet and Outlet Pipes
Make sure you support the inlet and outlet pipes so that the force on the pipe doesn’t act on the pump. If you don’t support your pipes properly, they can put a lot of stress on your pump, which could lead to it wearing out or even breaking. Use pipe supports and hangers to spread the weight around and make sure the pipes stay stable while they’re in use.

Steps 7:Install a Gate Valve on the Outlet Pipeline
It’s a good idea to install a gate valve on the water outlet pipeline to adjust the operating condition of the pump. A gate valve lets you control the flow and pressure of the slurry, which helps the pump work better and protects it from overloading. Make sure the valve is easy to get to for any adjustments or maintenance.
Conclusion
To install a slurry pump, make sure the foundation is the right size and level, and secure the pump with anchor bolts that are properly fixed. Check all the connections thoroughly and use pipeline diameters that are suitable, supporting inlet and outlet pipes to prevent stress on the pump. Finally, install a gate valve on the outlet pipeline to adjust the pump’s operating conditions.
